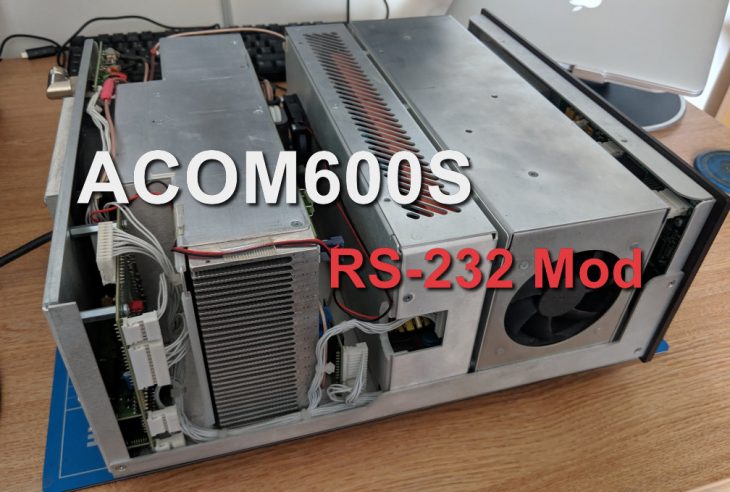
I have been attempting to get the remote power on capability of ACOM Director Plus working with the ACOM 600S however no matter what I tried I was unable to make it work. I tried swapping to a null modem cable and amazingly the remote power on worked perfectly, however I could no longer connect to the amp from the computer.
On closer inspection of the manual, it would appear that there is something unusual about the wiring for the RS-232 port
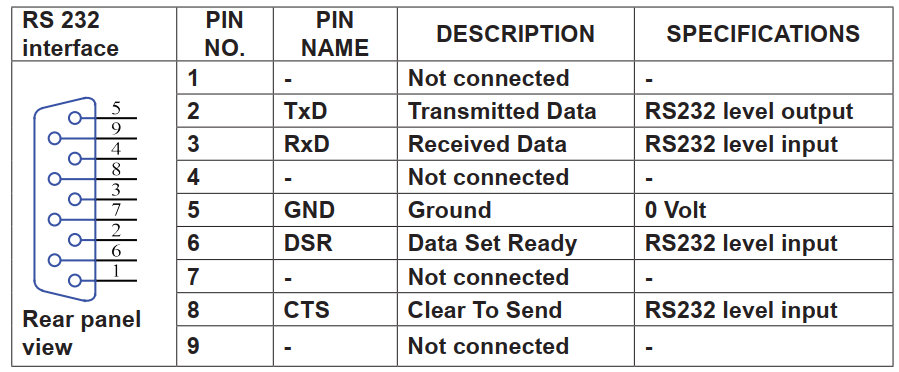
At first glance everything seems fine, however pins 2 & 3 (TxD and RxD) are wired to use a straight through RS-232 cable, but pins 6 & 8 (DSR and CTS used for remote power on) are wired to use a null modem cable. This means that for full control of the amp a custom cable must be used.
What peaked my interest is the fact that pins 4 & 7 are noted as Not Connected, these are the DTR and RTS lines and are what’s used to tell the amp to power on. In order for this to work they must be connected to pins 6 and 8. It occured to me that it should be possible to make a modification to the amp to enable it to support a regular straight through RS-232 cable.
To that end i’ve put together a mod which can be found over at ACOM 600S RS-232 RPON Mod which details how to do this. It’s only useful if you intend to use the RPON capability through the RS-232 port, however it will avoid the need for custom cables and is still backward compatible should a custom cable happen to be used in the future.
IMPORTANT – YOU SHOULD NOT ATTEMPT THIS MODIFICATION UNLESS YOU ARE CERTAIN YOU HAVE THE SKILLS AND EQUIPMENT REQUIRED, YOU COULD DAMAGE YOUR AMPLIFIER. THIS MODIFICATION IS NOT ENDORSED BY ACOM. NO RESPONSIBILITY IS TAKEN BY M0YOM, ACOM OR ANYONE ELSE FOR ANY DAMAGE OR INJURY THAT MAY RESULT FROM PERFORMING THIS MODIFICATION. PERFORMING THIS MODIFICATION WILL LIKELY VOID YOUR WARRANTY.
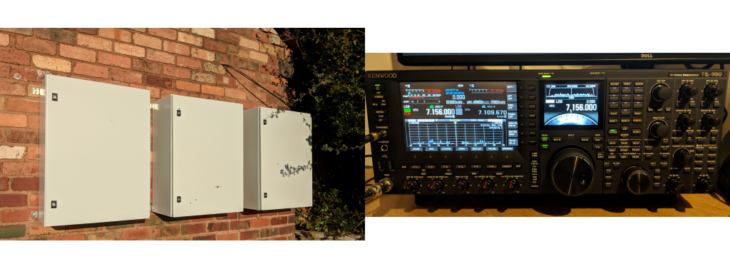
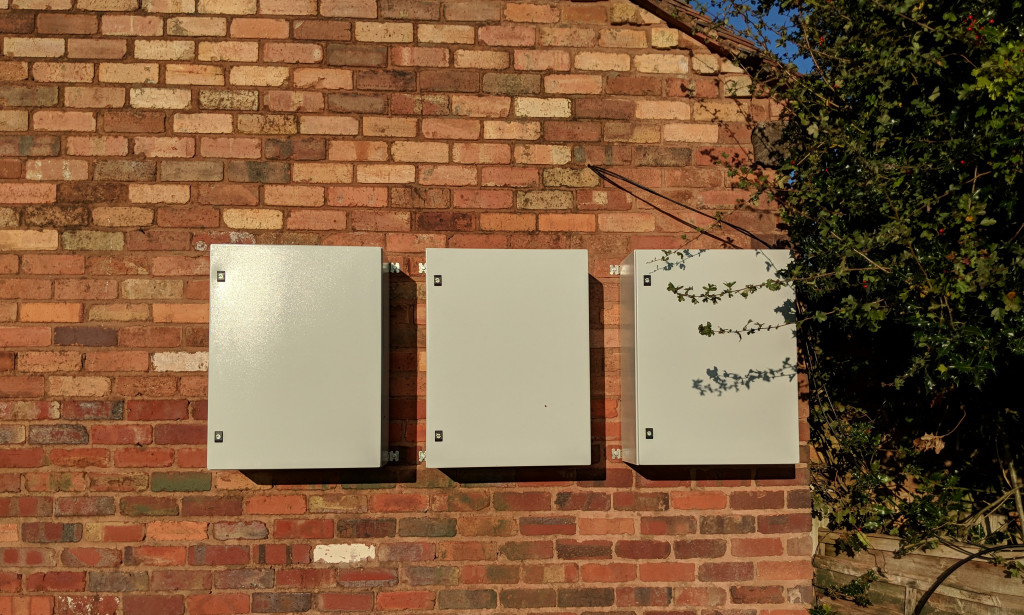
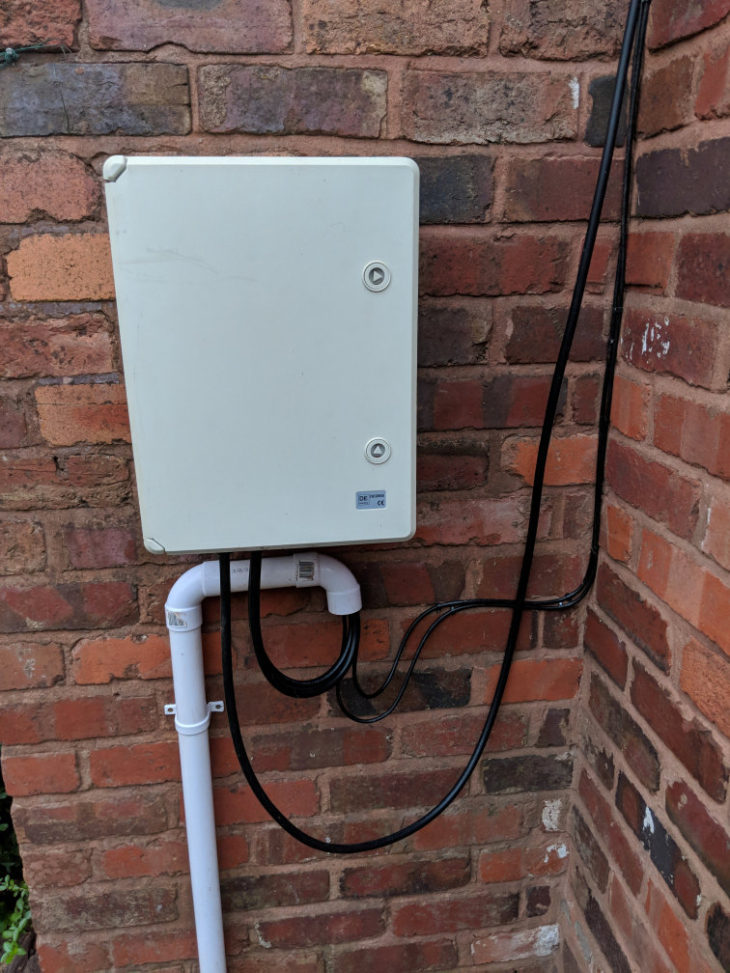
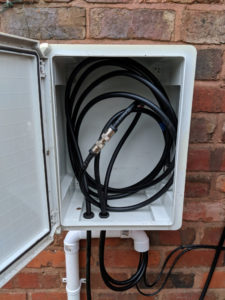
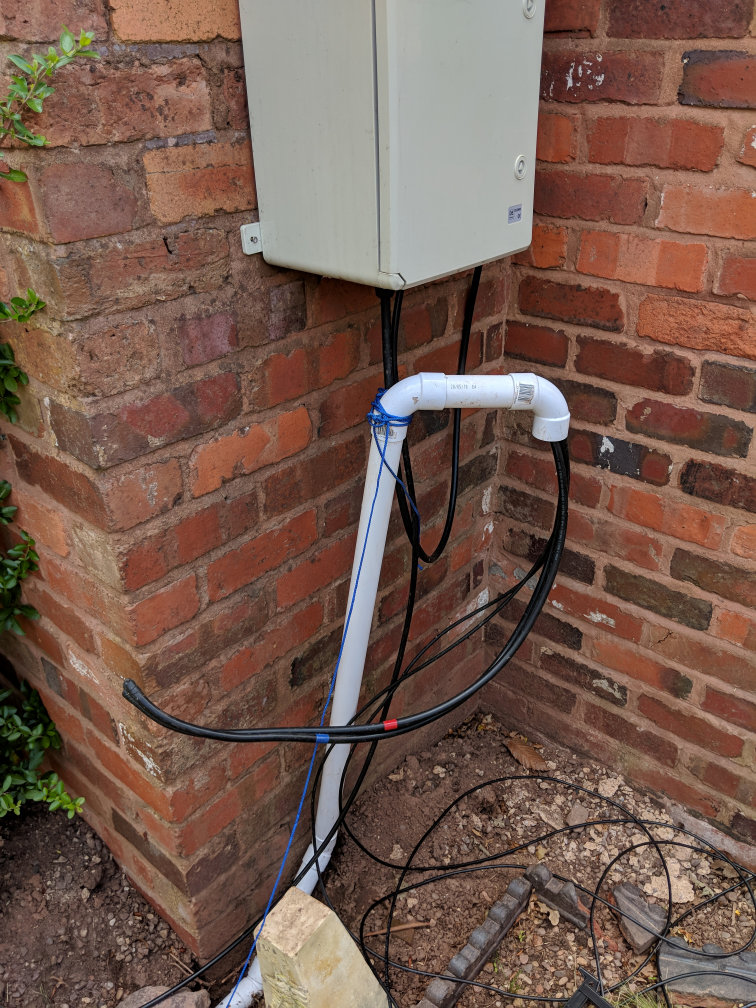
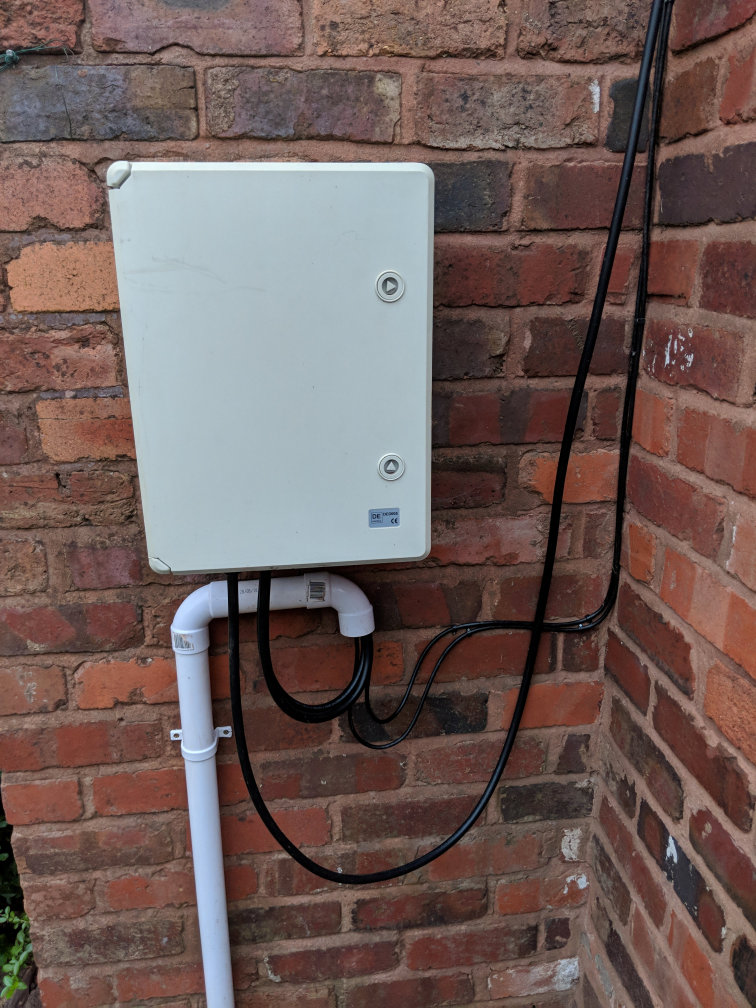
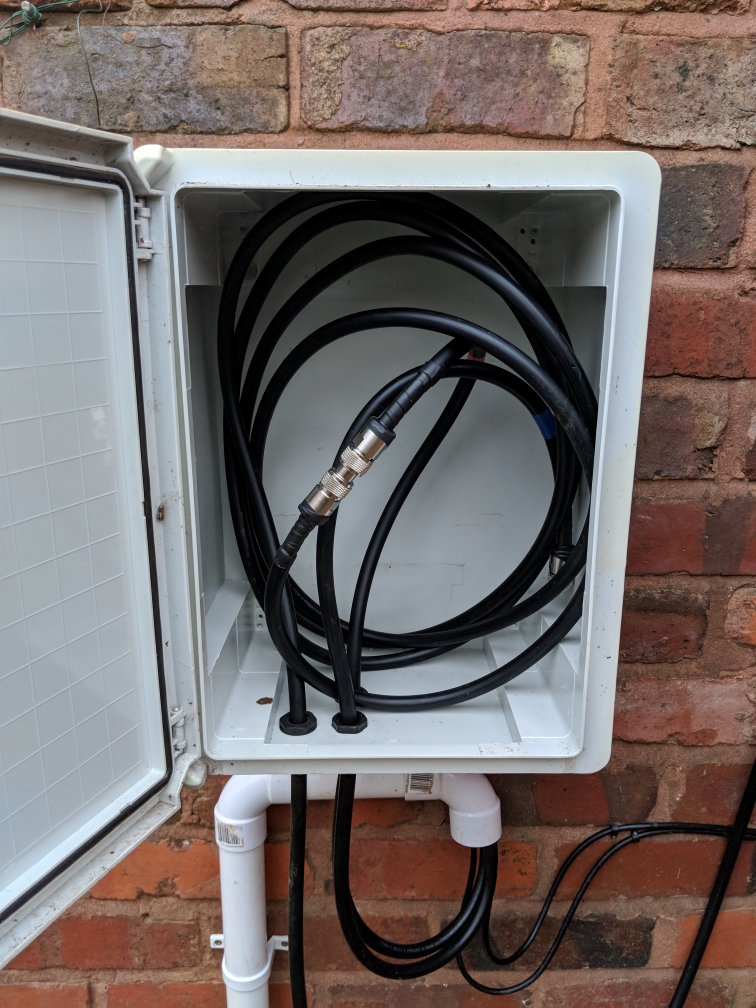
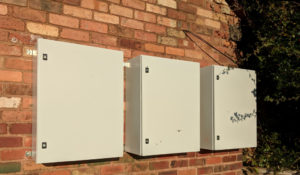 The last few weeks have seen some good progress on getting the new station built, the external cabinets have now been installed, these are Schneider Electric Spacial CRN cabinets and measure 600mm x 800mm x 300mm. From left to right they’ll be used for 240v Mains Electric, control equipment (more on this in a future posting) and RF Switching. These are great cabinets as they’re relativly inexpensive and are IP66 rated so provide good weather proofing for the equipment. My location is very exposed to the weather so this is an important consideration.
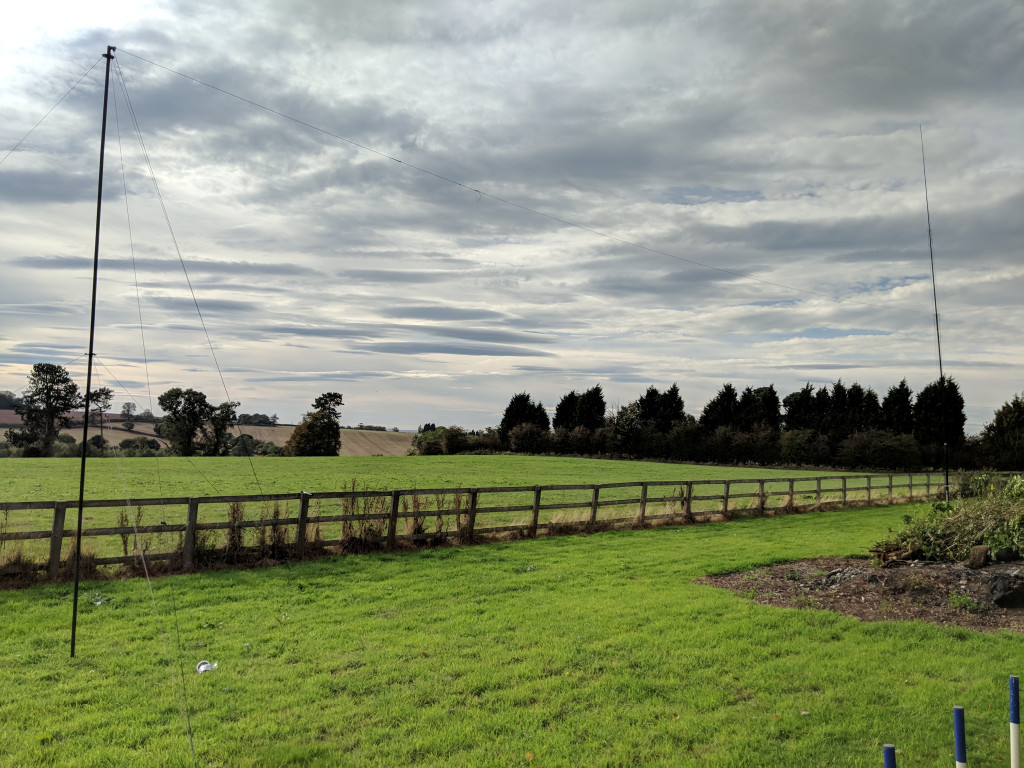
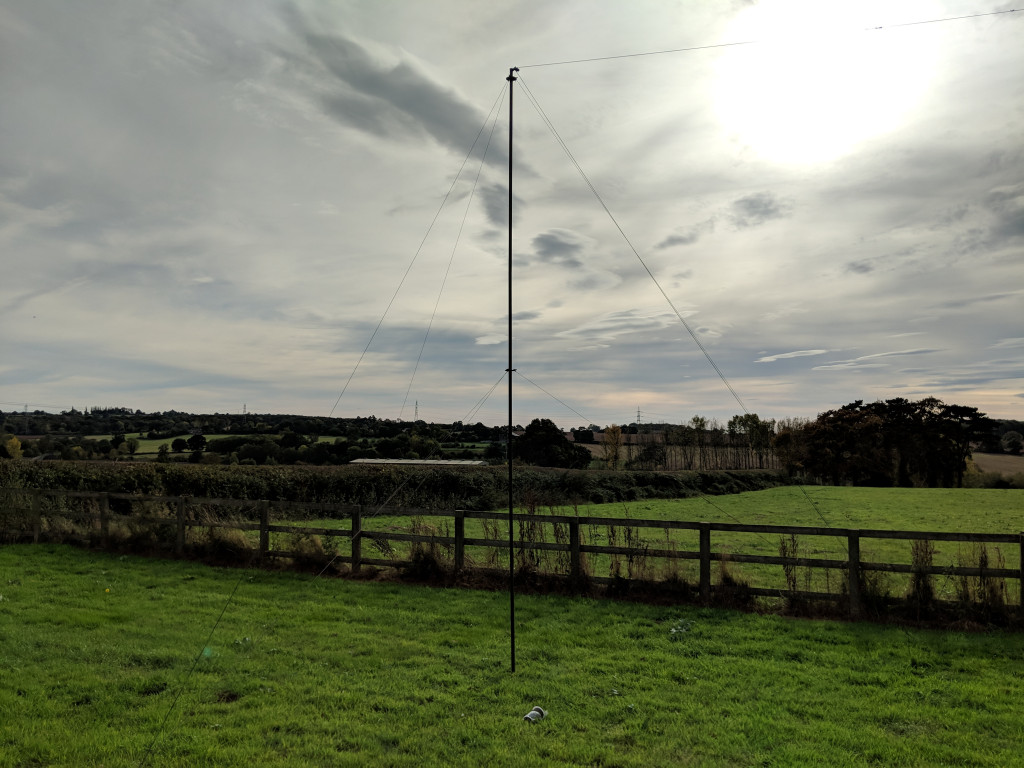
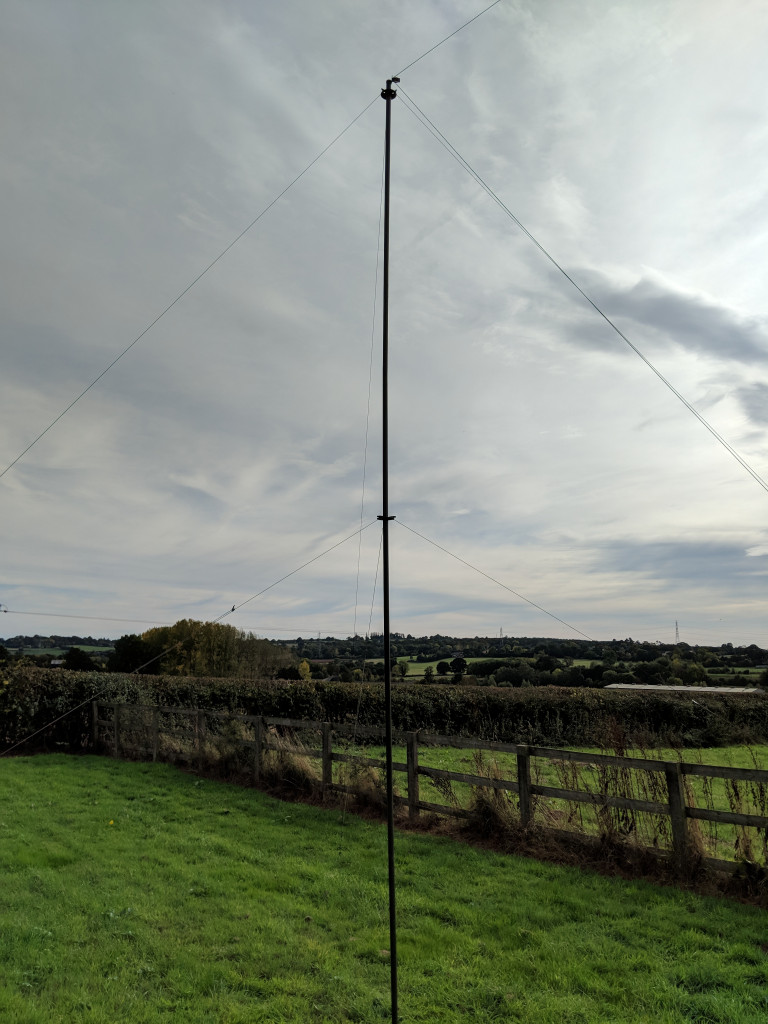
 With CQWW SSB coming up I wanted to be able to get on 80m, so figured it was time to convert the DX Commander into an 80m capable antenna. The 17m element was removed and replaced with an 80m inverted L element, with hindsight I should probably have removed the 30m element but i’ll address this once I move the DX Commander to it’s permanent location. The end of the inverted L is supported from a Clansman 5.4m Mast i’ve had laying around for years. The 80m performance seems to be pretty good and will certainly do as a temporary solution for 80m.
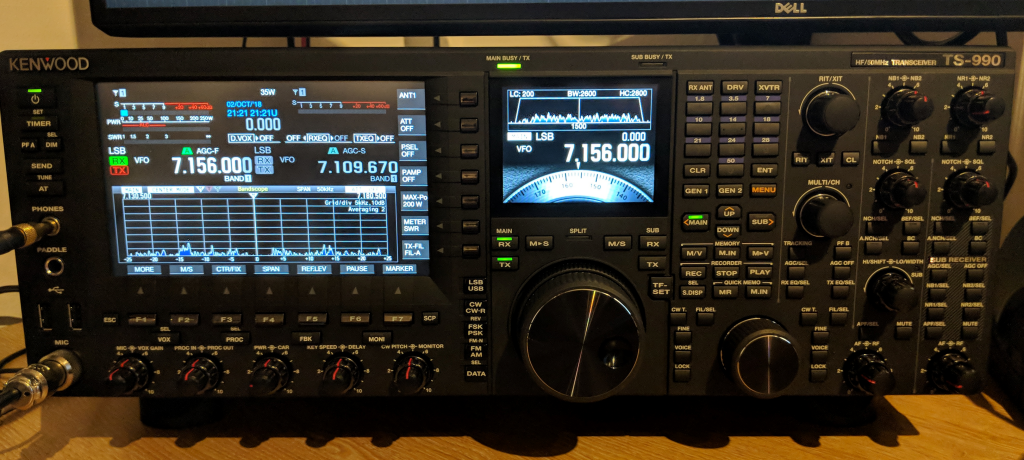
 Finally, and perhaps the most exciting change is the new HF rig, i’ve had my trusty Yaesu FT-2000 for a very long time and the opportunity came up for me to acquire a Kenwood TS-990S. The descision was a very easy one so the FT-2000 had to go. I’ve only had the TS-990S for a short time but so far i’m very pleased with it. The performance is considerably better than the FT-2000 and it’s a fantastic rig to operate. I’m very much looking forward to putting it through it’s paces in CQWW SSB.